You finally have your new SIM card, but before you insert it, one question comes up: Which way does it go? It seems like a simple task until you notice the tiny SIM tray, different SIM sizes, and the fear of damaging your phone by forcing it in the wrong direction.
The good news is that learning how to install SIM card in Android phone only takes a few minutes when you know the correct steps. Whether you’re setting up a new device, switching carriers, or replacing an old SIM, the instructions below will help you insert it safely and confirm that the phone recognizes it.
1. Before You Insert the SIM Card
Before learning how to install SIM card in Android phone, take a minute to prepare. A few quick checks can help you avoid damaging the SIM tray or running into connection problems later.
- Make sure you have the correct SIM size: Most Android phones use a Nano SIM, while some older models use a Micro SIM.
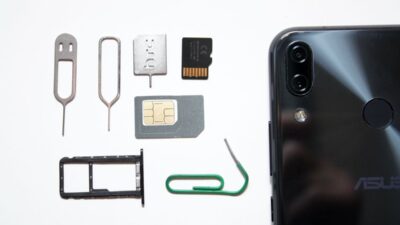
- Find the SIM eject tool: Use the tool supplied with the phone when possible. A straightened small paperclip may work on some models, but never force an object into the opening.
- Power off your phone if possible: Turning the device off before inserting or removing the SIM is the safest approach and is recommended by many manufacturers.
- Check the SIM for damage: A cracked, bent, or heavily damaged SIM may prevent the phone from recognizing it. If the contacts are dusty, wipe them gently with a clean, dry microfiber cloth.
- Know where the SIM tray is located: It is commonly found along the side, top, or bottom edge of the phone. Some older or rugged models place the SIM under a removable back cover.
Once everything is ready, you can begin installing the SIM.
2. Install the SIM Card Step by Step
Following the correct order makes how to install SIM card in Android phone much easier and helps protect both the SIM card and the tray.
Step 1: Locate the SIM tray
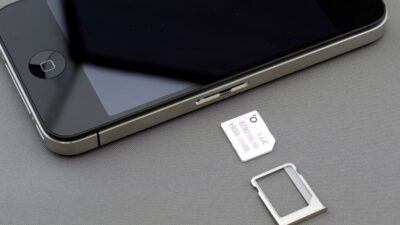
Look around the edge of your phone for a removable tray with a small eject hole. The hole should be part of or directly beside the visible outline of the tray.
Do not rely only on the size of the hole, as a microphone opening can look similar. If you are unsure, check the phone’s manual or the manufacturer’s support page before inserting the tool.
Step 2: Insert the eject tool
When learning how to install SIM card in Android phone, insert the SIM eject tool into the pinhole and press gently until the tray pops out.
Step 3: Remove the tray carefully
Pull the tray out slowly using your fingers. Keep it level so the SIM card does not fall out after you place it in the slot.
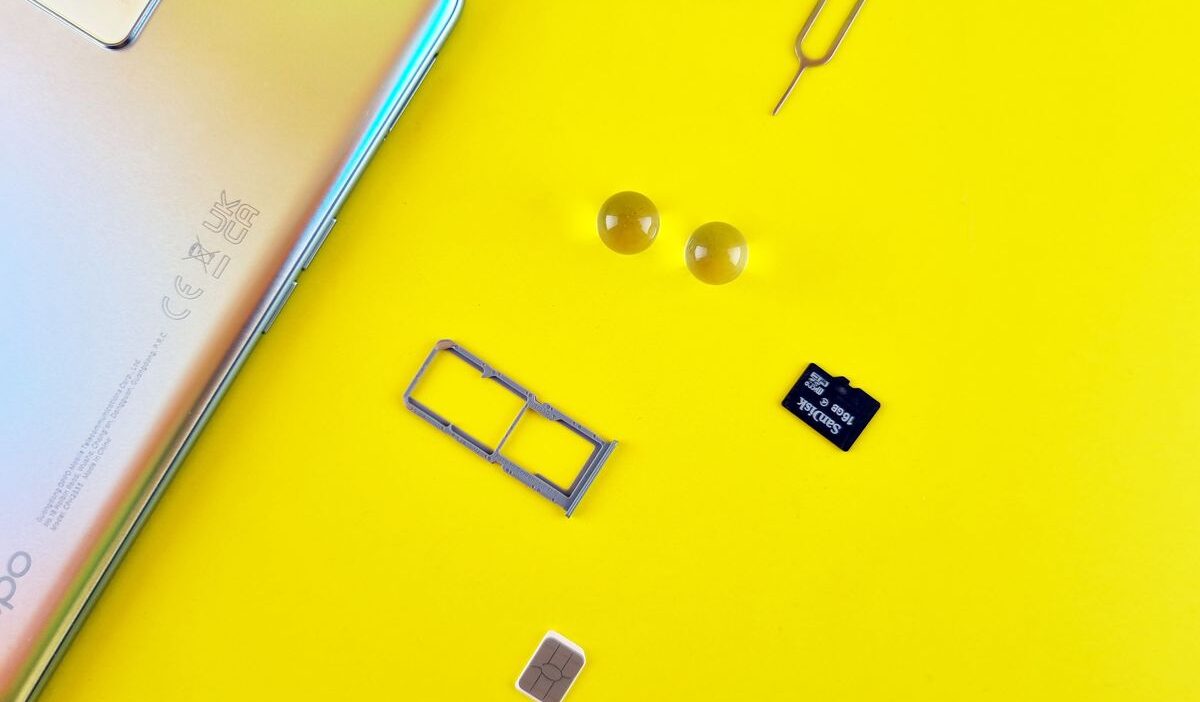
If your phone supports dual SIMs or uses a shared SIM and microSD tray, check the labels or tray diagram to make sure you are using the correct position.
Step 4: Place the SIM in the correct position
Lay the SIM card into the tray so the notched corner matches the tray’s cutout. Follow any diagram printed on the tray because the direction of the gold contacts varies between devices.
The SIM should sit flat and flush with the tray. If it rocks, rises above the tray, or does not fit naturally, remove it and check the size and orientation again. Never cut the SIM or force it into the slot.
Step 5: Insert the tray back into the phone
When learning how to install SIM card in Android phone, slide the tray back into the same opening and orientation in which it was removed.
Press gently until it sits flush with the phone. If you feel resistance, stop and check that the SIM is seated correctly and that the tray is not upside down.
Step 6: Turn on the device and wait for the network to appear
Power on your phone and allow it time to detect the SIM and register with the carrier.
The phone may connect within a few moments, but a new or replacement SIM can take longer if carrier activation or number transfer is still processing. If an activation or SIM error appears, confirm that the line is active with your carrier.
>>> Read more: How to Lock SIM Card on Android: A Quick Step-by-Step Guide
3. How to Make Sure the SIM Was Installed Correctly
After completing how to install SIM card in Android phone, it’s worth confirming that everything is working as expected.
A successful installation usually includes these signs:
- The SIM appears in Settings: On Google Pixel, check Settings > Network & Internet > SIMs. On Samsung Galaxy, check Settings > Connections > SIM Manager. Other Android paths may vary.
- The line is active: Make sure the switch beside the physical SIM is turned on if your phone provides that option.
- Mobile data works: Turn off Wi-Fi and open a webpage to test the cellular connection.
- Calls or texts work: Make a normal call or send an SMS to confirm that the line has been activated.
- The carrier name and signal icon appear: These are useful clues, but they do not guarantee that every cellular service is working.
If the SIM appears in Settings and calls, texts, or mobile data work, you’ve successfully completed how to install SIM card in Android phone.
4. What If the SIM Card Is Not Detected?
If how to install SIM card in Android phone doesn’t go as planned, don’t assume the SIM is defective. Start with these simple fixes.
- Restart the phone: A restart refreshes Android’s network services and often allows the phone to detect the SIM properly.
- Reseat the SIM card: Remove the tray and check that the SIM sits flat in its slot before inserting it again.
- Check for SIM damage: Examine the SIM card’s gold contacts for any signs of damage or debris. Even minor damage can prevent a proper connection.
- Try the SIM in another phone: Test the SIM in another compatible phone that is unlocked or approved for the same carrier. If the SIM works there, the issue may involve the original phone, tray, carrier lock, or SIM reader. If the SIM fails in both phones, contact the carrier to confirm that the card is active or request a replacement.
- Contact your carrier: If the SIM still isn’t detected, your carrier can verify whether the SIM has been activated correctly or determine if it needs to be replaced.
>>> Read more: No SIM No Service Android: Common Causes & Easy Fixes
5. Getting Your SIM Ready? You May Qualify for Lower-Cost Service
After learning how to install SIM card in Android phone, you still need an active mobile plan before the SIM can provide calls, texts, and cellular data.
If monthly service costs are difficult to manage, Lifeline, a government assistance program, may help lower the cost of qualifying phone service or internet service.
You may qualify if your household income is at or below 135% of the Federal Poverty Guidelines or if you or someone in your household participates in a qualifying program, including:
- SNAP
- Medicaid
- Supplemental Security Income (SSI)
- Federal Public Housing Assistance (FPHA)
- Veterans Pension or Survivors Benefit
Only one Lifeline benefit is generally allowed per household, and the benefit is non-transferable.
Lifeline service is provided through approved Eligible Telecommunications Carriers rather than directly by the government. This means you need to choose a participating carrier that serves your location and apply through that provider.
Cintex Wireless is one participating ETC that offers a simple, easy-to-navigate online application process and support for activating an approved line.
The carrier is merging with AirTalk Wireless, so some applicants may be redirected to AirTalk’s platform to complete their application. This means that applicants can access more available options and a more upgraded experience overall.
Once your service is approved, you can explore Samsung phones that may be compatible with your SIM and available through current carrier offers. Options differ by state, eligibility, inventory, and device compatibility.
Note: Eligibility varies by state and program. Offers depend on availability and qualifications. Cintex and AirTalk Wireless operate under the federal Lifeline Program as an Eligible Telecommunications Carrier (ETC). Service is non-transferable and limited to one service per household.
6. FAQs
Do I need to turn off my Android phone before inserting a SIM card?
Yes, powering off the phone is the safest approach. Some devices may detect a SIM while turned on, but following the manufacturer’s shutdown instructions reduces the chance of detection errors or tray problems.
Can I insert a SIM card while the phone is on?
Some phones may recognize a SIM inserted while powered on, but support varies by model. For the most reliable process, turn the phone off first, install the SIM, and then restart it.
Can I use an eSIM instead of a physical SIM?
Yes, if your Android model, regional version, software, and carrier support eSIM. Instead of inserting a physical card, use the phone’s SIM Manager or mobile-network settings and follow your carrier’s activation instructions.
Conclusion
Knowing how to install SIM card in Android phone is one of those simple skills that can save time whenever you switch devices, change carriers, or activate a new mobile plan.
The process only takes a few minutes, but paying attention to the SIM’s orientation and confirming the phone detects it correctly can prevent unnecessary troubleshooting later.